
Introduction to Homemade Banana Pudding
Why Banana Pudding is the Perfect Comfort Dessert
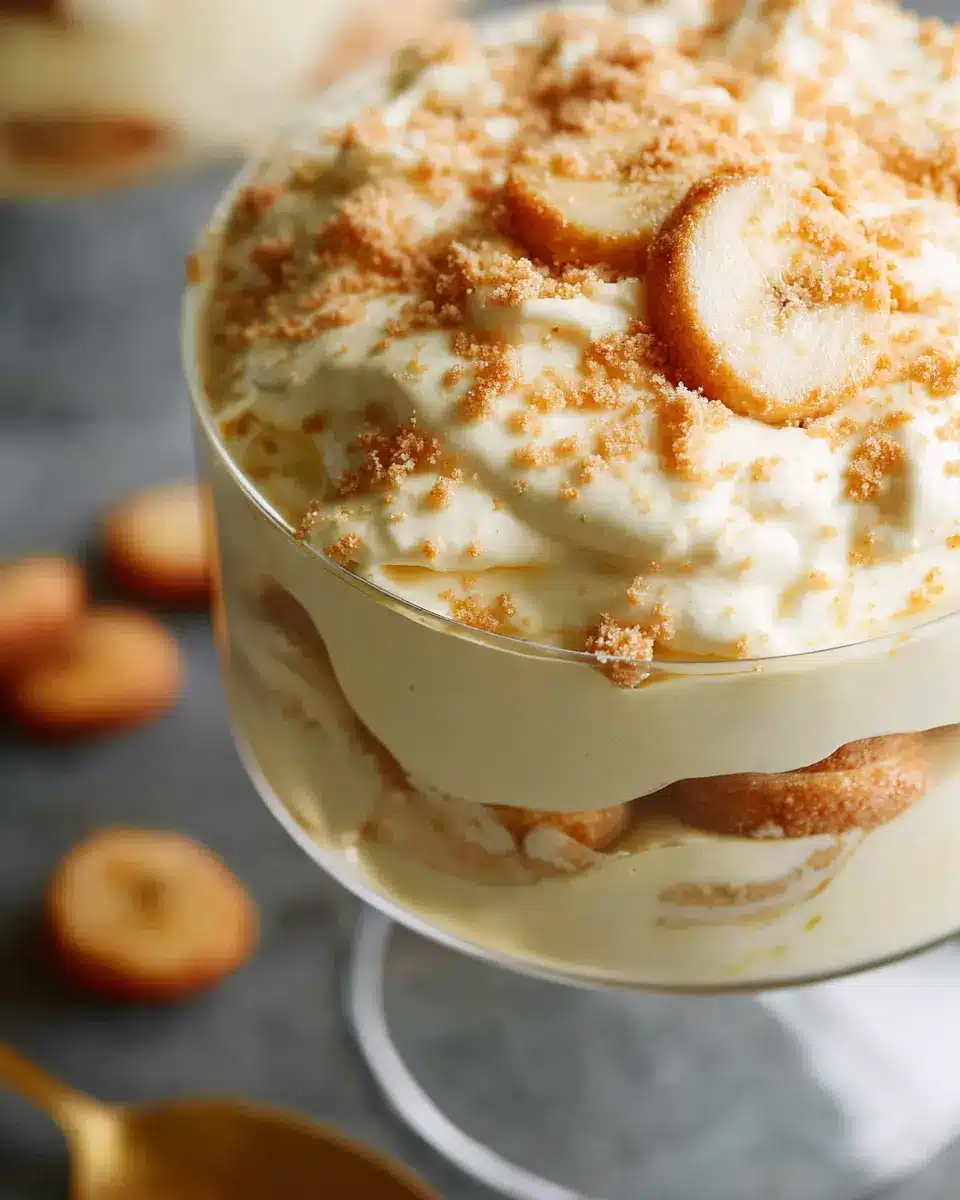
There's just something about homemade banana pudding that wraps you in a warm embrace, making it a quintessential comfort dessert. With its creamy, dreamy layers of velvety vanilla pudding, fresh bananas, and delightful Nilla wafers, this dessert never fails to bring smiles and happy memories. Whether you enjoyed it at summer picnics or as a special treat on family nights, banana pudding holds a special place in many hearts.
The beauty of this dish lies not only in its flavor but also in its simplicity. At just 15 minutes of prep time and 15 minutes of cook time, you can create something utterly delightful that's perfect for any occasion—be it a casual gathering or a festive celebration. Plus, the ingredients are typically pantry staples, making it an accessible option for young professionals on the go.
As you layer the components, you’ll enjoy the rich aroma of vanilla and the sweetness of ripe bananas mingling together. Finally, letting it refrigerate allows the flavors to meld beautifully. For more dessert inspiration, check out what makes traditional desserts so special. You won’t regret diving into a lovely bowl of this creamy banana pudding goodness!
Ingredients for Homemade Banana Pudding
Essential Ingredients for Classic Banana Pudding
Creating the perfect banana pudding starts with the right ingredients, and this recipe features classic components that yield a rich, creamy, and oh-so-satisfying dessert. Here’s what you’ll need:
- Whole Milk (2 ½ cups): This forms the base of our pudding, creating a luscious texture.
- Heavy Cream (½ cup): Adds richness and a velvety mouthfeel that makes the pudding irresistible.
- Eggs (1 whole + 2 yolks): Essential for thickening the pudding, providing structure and flavor.
- Granulated Sugar (¾ cup): Sweetening the mix to balance the creaminess.
- Cornstarch (4 ½ tablespoons): This natural thickening agent is key to achieving that desired pudding consistency.
- Butter (4 tablespoons): For a buttery flavor and silky smoothness.
- Vanilla Extract (3 teaspoons): A must for a warm, comforting flavor.
- Salt (½ teaspoon): Enhances all the flavors in this delightful dessert.
- Nilla Wafers (1 box): The classic cookie that adds texture and a nostalgic crunch.
- Ripe Bananas (4 large): Sliced, these are the star of our show—sweet and satisfying.
- Fresh Whipped Cream (optional): For topping, adding lightness and a lovely finish.
For additional tips on choosing ripe bananas, check out this guide that discusses how to pick the best fruit. Happy cooking!
Step-by-Step Preparation for Homemade Banana Pudding
Creating homemade banana pudding is a delightful journey, and the end result is worth every moment spent in the kitchen! Follow these simple steps to craft a creamy, comforting dessert that will elevate any occasion.
Gather Your Ingredients
Start by collecting the necessary ingredients. A well-prepared kitchen is key to a smooth cooking experience. Here's what you'll need:
- 2 ½ cups whole milk
- ½ cup heavy cream
- 1 egg, at room temperature
- 2 egg yolks, at room temperature
- ¾ cup granulated sugar
- 4 ½ Tablespoons cornstarch
- 4 Tablespoons butter, chopped
- 3 teaspoons vanilla extract
- ½ teaspoon salt
- 1 box Nilla wafers
- 4 large bananas, sliced (ripe, but not overly ripe)
- Fresh whipped cream, for topping (optional)
Feel free to check this resource for tips on selecting the best bananas!
Prepare the Vanilla Pudding Base
In a medium saucepan, combine the milk and heavy cream over medium heat. Stir often until the mixture reaches a gentle simmer. This step creates a rich and flavorful base for your pudding, a crucial aspect of a perfect banana pudding.
Temper the Eggs Safely
While the milk mixture heats, whisk together the egg, egg yolks, sugar, and cornstarch in a medium bowl until fully blended. To avoid scrambling the eggs, you need to bring them up to temperature gradually. Spoon a small amount of the hot milk mixture into the egg mixture, whisking vigorously. Repeat this process a couple of times to gently raise the egg temperature.
Thicken the Mixture
Now it's time to combine the egg mixture back into the saucepan with the remaining hot milk. Cook over medium-low heat, stirring regularly, until the pudding thickens and coats the back of a spoon, around 5 to 8 minutes. Ensure you don’t let it boil; keeping the heat low is essential for a smooth texture.
Create a Smooth and Silky Pudding
Once thickened, remove the saucepan from the heat. Stir in the chopped butter, vanilla extract, and salt. For an ultra-smooth finish, pour the pudding through a fine mesh strainer into a container to catch any lumps. After that, cover with plastic wrap directly on the surface to prevent a film from forming and refrigerate for at least an hour.
Assemble the Layers
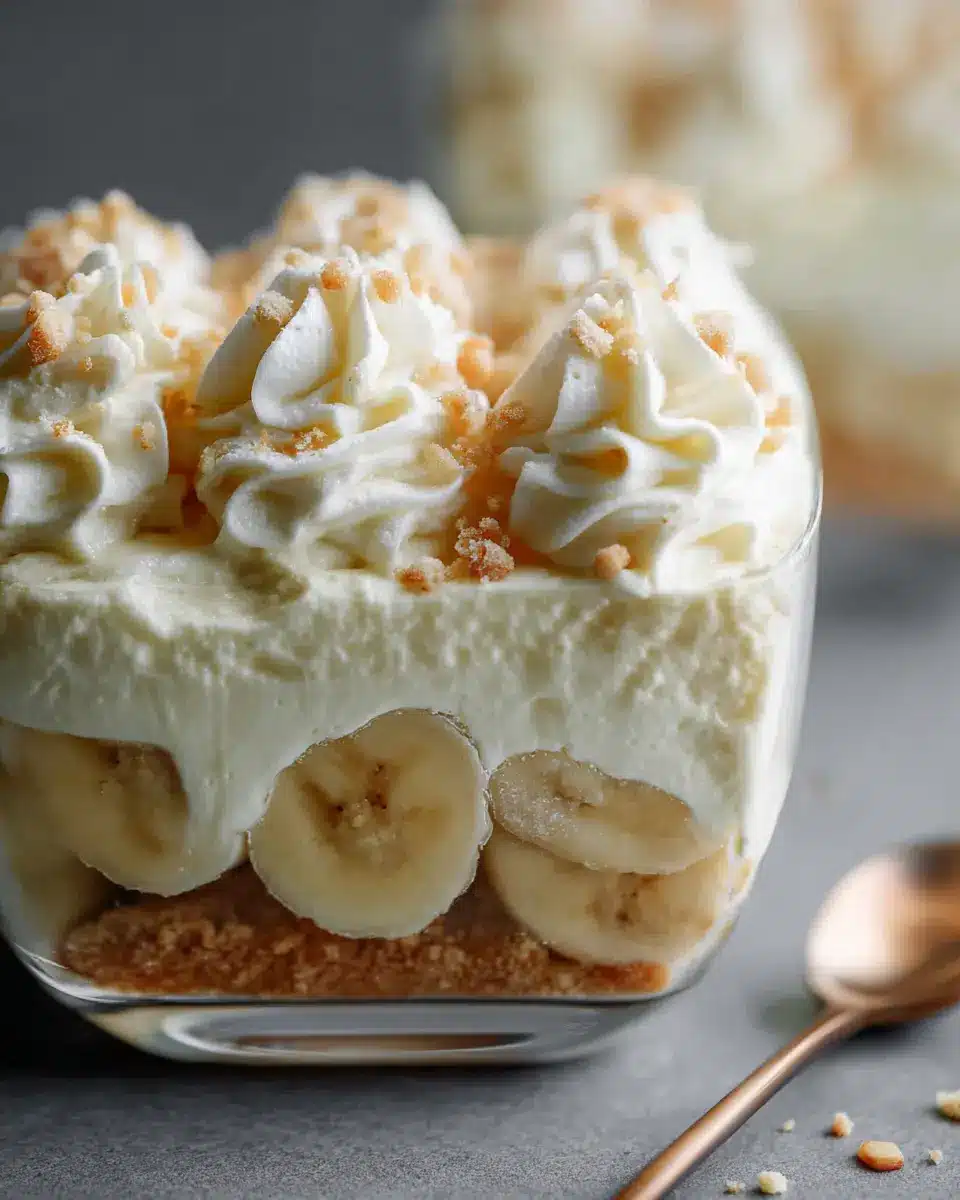
When your chilled pudding is ready, it's time to assemble your banana pudding. Choose a 9-inch square pan, trifle dish, or individual serving bowls. Begin by layering the bottom with Nilla wafers, followed by sliced bananas, and half of the pudding mixture. Repeat these layers until you finish with the wafers on top.
Chill to Perfection
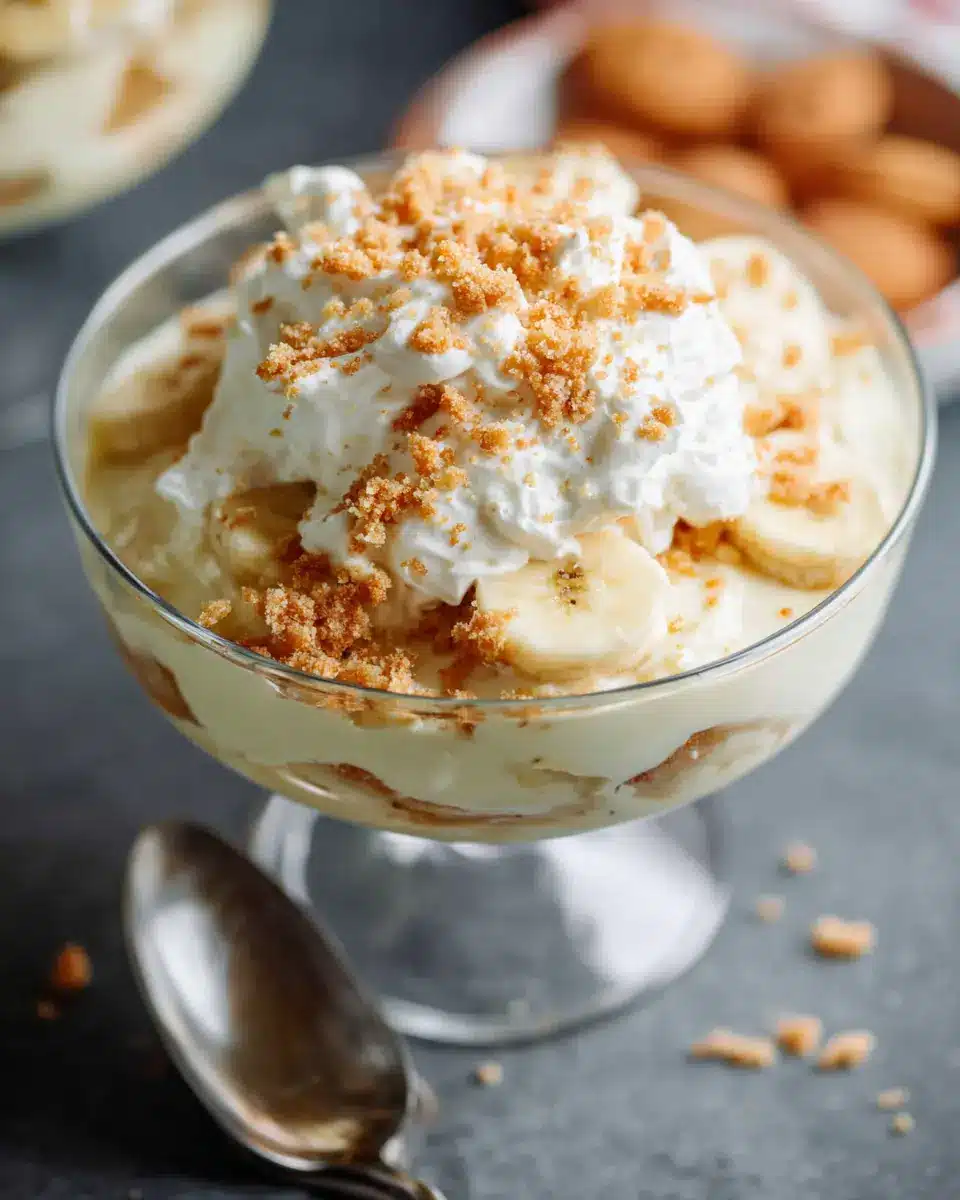
Cover your assembled banana pudding with plastic wrap and let it chill in the refrigerator for 4 to 8 hours. This waiting period allows the flavors to meld beautifully, making your dessert even more irresistible. Right before serving, add a dollop of fresh whipped cream on top if you desire a little extra flair.
With these steps, you're well on your way to making a homemade banana pudding that will impress friends and family alike! Enjoy digging into the comforting layers of this classic dessert—who can resist a sweet spoonful?
Variations on Homemade Banana Pudding
Add a Twist with Chocolate
For chocolate lovers, why not make a rich chocolate variation of your classic banana pudding? Simply whisk in ½ cup of cocoa powder when making your pudding for a delightful cocoa infusion. You can also layer in chocolate wafer cookies instead of Nilla wafers for an extra chocolate kick. Top it off with chocolate shavings or mini chocolate chips to elevate your dessert even further. It transforms the pudding into a dreamy, irresistible treat!
Experiment with Different Cookies
Feeling adventurous? Mix it up by using different types of cookies in your banana pudding. Consider trying ginger snaps for a warm, spicy flavor or butter cookies for a richer taste. You could even use gluten-free options to cater to dietary preferences without sacrificing flavor. Each cookie type introduces a unique texture and taste that makes your banana pudding recipe distinct and fun! Explore the possibilities and find your favorite combination—your taste buds will thank you!
Discover more creative ideas at Food Network, where you can dive deeper into dessert variations and find inspiration.
Cooking Tips and Notes for Homemade Banana Pudding
The Importance of Ripe Bananas
For the best banana pudding, select ripe bananas. They should be yellow with a few brown spots but not overly ripe. This sweet spot provides optimal flavor and creaminess, balancing well with the other ingredients. According to a study from the Journal of Food Science, the natural sugars in ripe bananas enhance the dessert's overall sweetness and texture.
How to Avoid Lumps in Pudding
To ensure your banana pudding is perfectly smooth, temper your eggs by gradually adding hot milk to the egg mixture. This gentle approach prevents scrambling. After cooking, always strain the pudding through a fine mesh sieve—this step removes any lumps that might have formed, resulting in that silky smooth consistency we all love. For more tips on perfecting homemade puddings, check out resources like Serious Eats and Bon Appétit.
Serving Suggestions for Homemade Banana Pudding
Individual Servings vs. Family Style
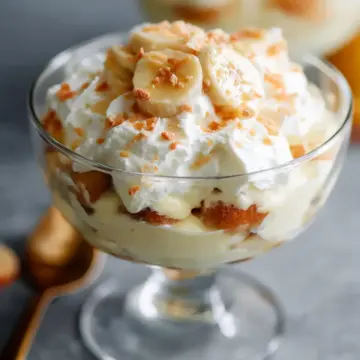
When it comes to serving banana pudding, you have two delightful options. Individual servings can add a touch of elegance to gatherings—simply layer the pudding in small cups or mason jars for a charming presentation. On the other hand, for family style, a large bowl or trifle dish allows everyone to dig in together, creating a relaxed atmosphere. Both styles encourage sharing, making them perfect for any get-together.
How to Garnish for Extra Flavor
Elevate your banana pudding with simple yet impactful garnishes. A dollop of fresh whipped cream on top is always a crowd-pleaser. You can also sprinkle crushed Nilla wafers for a lovely crunch or add a sprinkle of cinnamon for warmth. For a vibrant twist, consider fresh mint leaves as a garnish. They not only enhance aesthetics but also contribute a refreshing flavor. Looking for more inspiration? Check out sources like Food Network for creative variations and ideas!
Time Breakdown for Homemade Banana Pudding
When preparing your delicious homemade banana pudding, understanding the time commitment can keep your kitchen adventures smooth and enjoyable. Here’s a quick breakdown to help you plan:
Preparation Time
Get started with 15 minutes of prep. This includes gathering ingredients and creating your creamy vanilla pudding base.
Cooking Time
The cooking process takes about 15 minutes. That’s just enough time to turn those simple ingredients into a rich, velvety pudding.
Refrigeration Time
Once assembled, let your banana pudding chill in the refrigerator for at least 4 hours. This step is crucial for achieving the perfect texture and flavor.
Ready to create a crowd-pleasing dessert? Dive into the full recipe for homemade banana pudding! If you want some background on the ingredients, check out this source.
Nutritional Facts for Homemade Banana Pudding
Calories per Serving
One serving of homemade banana pudding packs approximately 288 calories. This makes it a delightful treat for satisfying your sweet tooth without completely derailing your dietary goals.
Sugar Content
Each serving contains around 30 grams of sugar, which primarily comes from the ripe bananas and granulated sugar. While a bit on the sweeter side, bananas provide natural sugars along with fiber and potassium, adding nutritional value to your dessert.
Protein and Fat Breakdown
This recipe offers a balanced ratio of 5 grams of protein and 12 grams of fat per serving. The protein mainly comes from eggs and the milk, while the fat is boosted by heavy cream and butter. This creamy delight not only satisfies cravings but also provides some necessary nutrients.
If you're interested in learning more about the health benefits of bananas, check out this informative article from Healthline.
FAQs about Homemade Banana Pudding
Can I use instant pudding instead of homemade?
While you can certainly use instant pudding for a quicker option, nothing beats the rich, creamy texture of homemade banana pudding. Instant varieties may save time, but they sacrifice depth of flavor that a homemade custard brings. If you're short on time, consider preparing both types and having a taste test!
How long can I store leftover banana pudding?
You can store leftover banana pudding in the refrigerator for up to three days. It’s best to cover it tightly to keep it fresh, but be mindful that the bananas may brown over time. If you want to enjoy it longer, consider storing the pudding separately from the bananas and layering them just before serving.
What other fruits can be added to banana pudding?
If you're feeling adventurous, adding berries, such as strawberries or blueberries, can introduce a delightful contrast to the sweetness of the bananas. You might also experiment with peaches or even a handful of nuts for added texture. Feel free to customize your banana pudding to suit your palate!
Explore more delightful dessert recipes at Taste of Home.
Conclusion on Homemade Banana Pudding
The Joy of a Homemade Classic
Indulging in homemade banana pudding is truly a delightful experience. Layers of creamy vanilla pudding, fresh bananas, and Nilla wafers create a nostalgic dessert that warms the heart. Whether it’s for a family gathering or simply a treat for yourself, making it from scratch adds a personal touch that store-bought versions just can’t match. Enjoy every last spoonful!
Banana Pudding
Equipment
- fine mesh strainer
- sauce pan
- mixing bowl
Ingredients
Dairy
- 2 ½ cups whole milk
- ½ cup heavy cream
Eggs
- 1 egg at room temperature
- 2 egg yolks at room temperature
Sugars and Starches
- ¾ cup granulated sugar
- 4 ½ Tablespoons cornstarch
Fats and Flavorings
- 4 Tablespoons butter chopped
- 3 teaspoons vanilla extract *
- ½ teaspoon salt
Fruits
- 4 large bananas sliced (use ripe, but not overly ripe bananas)
Miscellaneous
- 1 box Nilla wafers
- Fresh whipped cream for topping (optional)
Instructions
Cooking Instructions
- Add milk and cream to a medium saucepan over medium heat. Bring to a simmer, stirring often.
- In a medium bowl, whisk together the eggs, sugar, and cornstarch until well blended.
- Spoon a little of the hot milk over the egg mixtures and whisk well. Repeat with another few spoonfuls of the hot milk, to temper the eggs (bring their temperature up without 'scrambling' them).
- Pour the egg mixture into the saucepan and continue to cook over medium low heat (don’t let it boil) for 5-8 minutes until thickened and coats the back of a spoon.
- Once thickened, remove from the heat and stir in the butter, vanilla extract and salt.
- Pour the pudding through a sieve or fine mesh strainer into a container, to remove any lumps and make it silky smooth.
- Place a piece of plastic wrap directly on top (to prevent a skin from forming on it). Refrigerate for an hour or more, until chilled. Stir well once chilled.
- To assemble the banana pudding, use a 9 inch square pan, a large bowl, trifle dish or individual dishes.
- Line the bottom of the pan with vanilla wafers. Top with sliced bananas, then ½ of the pudding mixture. Repeat with another layer, and end with a final layer of wafers (whole or crushed into pieces).
- Cover tightly with plastic wrap and place the assembled dessert in the fridge for 4-8 hours.
- Top with fresh whipped cream before serving, if desired.
Leave a Reply