
Introduction to Artisan Pizza Dough
The allure of homemade pizza
There’s something magical about the aroma of freshly baked pizza wafting through your kitchen. Imagine gathering with friends or family, sharing laughter, and devouring slices hot from your oven. Homemade pizza invites creativity—choose your favorite toppings and experiment with flavors. It’s not just food; it’s an experience!
Making pizza at home is not just satisfying; it's often healthier and more cost-effective than ordering out. You control the ingredients, allowing you to make choices that suit your dietary preferences. Plus, it’s a fun way to bond with loved ones. Have you ever tried making your own dough? If you have, you know the joy of crafting your very own crust from scratch!
Why artisan pizza dough is a game changer
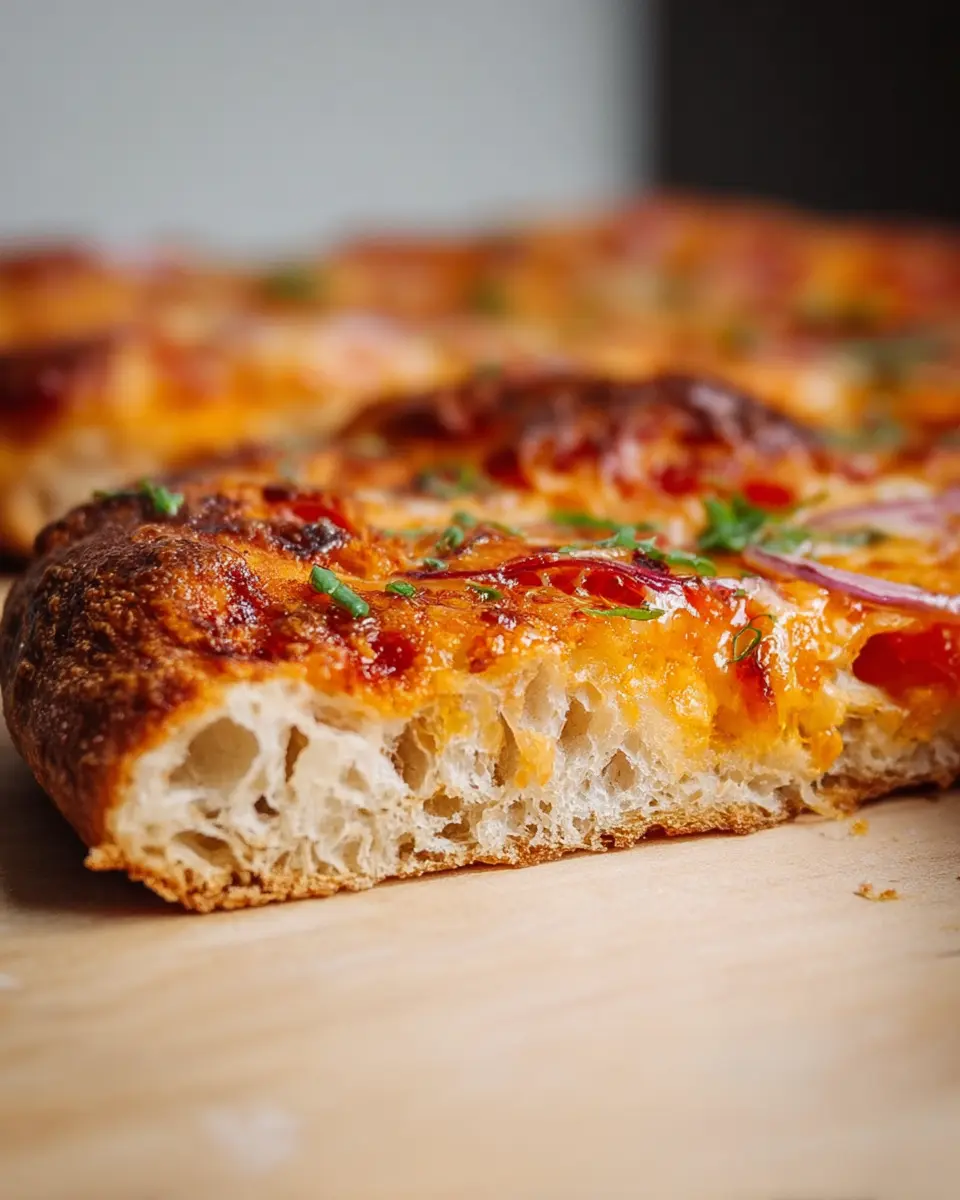
If you’re serious about elevating your homemade pizza, switching to artisan pizza dough is a true game changer. Unlike store-bought options, artisan dough is crafted through a slower fermentation process, resulting in superior flavor and texture. The crust is not only crispy on the outside but also chewy and flavorful on the inside—perfect for holding your favorite toppings.
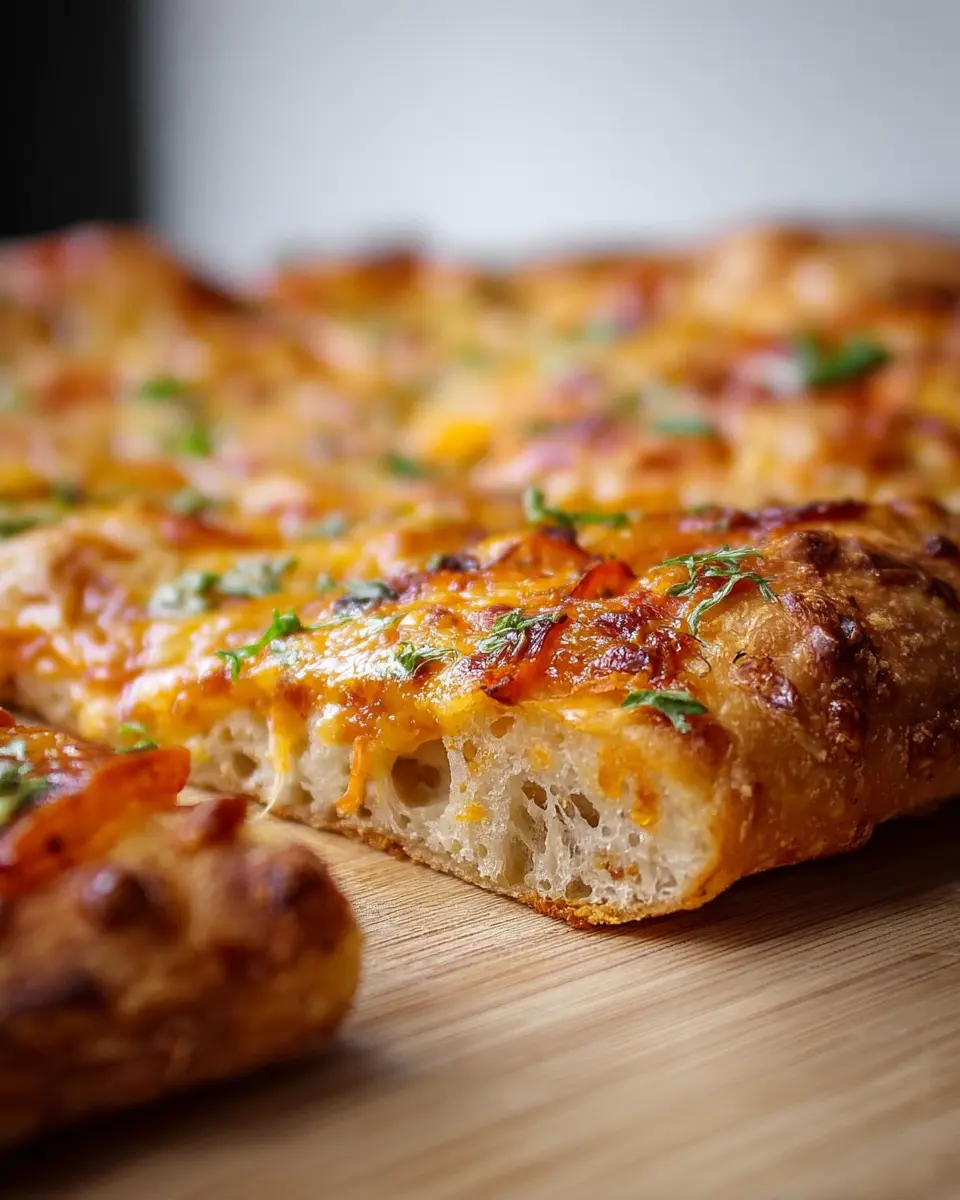
Warm, homemade artisan pizza dough brings a gourmet touch to your kitchen. By mastering this dough, you’ll unlock the potential to create stylish pizzas that rival those found in trendy pizzerias—all from the comfort of your home. Don’t just take our word for it; culinary experts praise this method for its depth of flavor and satisfying texture. Learn more about the benefits of homemade dough and start your pizza adventure today!
Ingredients for Artisan Pizza Dough
Essential ingredients you need
When crafting artisan pizza dough, simplicity is key. Here’s what you’ll need to get started on your pizza-making journey:
- 3 and ⅔ cups flour (all-purpose or whole wheat)
- 1 and ½ cups water (at room temperature)
- 2 teaspoons fine sea salt
- 2 teaspoons instant yeast
These basic ingredients will set the foundation for your delicious dough. The flour provides structure, while the yeast helps it rise, creating that airy texture we all love.
Quality vs. quantity in pizza-making
In the realm of pizza dough, quality matters. While you can follow the ingredient list to the letter, using high-quality flour can significantly enhance the flavor and texture of your dough. Brands like King Arthur Flour or Bob’s Red Mill are often recommended for their superior quality.
Why settle for ordinary when a better ingredient can elevate your artisan pizza dough into something extraordinary? Pay attention to the details, and your friends and family will thank you for the delightful pizza night! For more tips on choosing quality ingredients, check out Serious Eats.
Preparing Artisan Pizza Dough
Making your own artisan pizza dough at home can be a rewarding and fun experience. With a few simple steps, you can create a base that’s perfect for all sorts of delicious toppings. Let’s dive into the process!
Gather Your Ingredients
Before you begin, it’s essential to gather all your ingredients to ensure a smooth cooking experience. Here’s what you need:
- 3 and ⅔ cups of flour (all-purpose or whole wheat)
- 1 and ½ cups of water (room temperature)
- 2 teaspoons of fine sea salt
- 2 teaspoons of instant yeast
Having everything on hand not only speeds up the preparation but also makes it easier to focus on the fun part: making your dough!
Mix the Dry Ingredients Together
In a large mixing bowl, combine the flour, salt, and instant yeast. Using a whisk or a spoon, mix these dry ingredients well to ensure the yeast and salt are evenly distributed. This step is crucial because it ensures that the yeast is activated properly during the next stages of making your artisan pizza dough.
Add in the Water and Knead
Now it's time to add the room-temperature water. Pour it in gradually, using a rubber spatula or wooden spoon to mix it with the dry ingredients. You'll want to combine it until it forms a shaggy, sticky dough. Once it resembles a cohesive mass, it's time to get your hands in there! Knead the dough for about 5-10 minutes. If you find the dough too sticky, don’t hesitate to sprinkle a little flour until it's manageable.
Allow the Dough to Rise
Once your dough is kneaded and feels smooth, shape it loosely into a ball. Place it in a lightly greased bowl and cover it with plastic wrap or a clean kitchen towel. Allow the dough to rise at room temperature for 2-3 hours until it’s doubled in size and bubbly. The yeast does its magic during this time, creating those lovely air pockets that result in a light and airy crust. If you have time, you can also refrigerate the covered dough for up to three days for even more flavor development.
Divide and Shape the Dough
After your dough rises, it’s time to make individual portions for your pizzas. Turn the dough out onto a floured surface and use a knife or spatula to divide it into four equal parts (or eight if you prefer smaller pizzas). Flour your hands and gently shape each portion into a round ball. Place each ball on a sheet of parchment paper to rest for a bit.
Now, get your rolling pin ready! Flour it lightly and roll out each ball starting from the center and moving outward. Rotate the parchment after each roll to maintain a circular shape. If the dough feels tough to roll, let it rest for 5-10 minutes to relax the gluten—trust us, it makes a difference!
With these steps, you're well on your way to crafting amazing pizzas that will impress your friends and family. Don’t forget to add your favorite toppings and enjoy the fruits of your labor!
For more tips and detailed recipes, check out Serious Eats for insights on flour variations and techniques that can elevate your dough-making game.
Variations on Artisan Pizza Dough
Whole Wheat Artisan Pizza Dough
For those looking to boost their pizza’s nutritional profile, whole wheat artisan pizza dough is a fantastic alternative. Simply swap out half or all of the all-purpose flour for whole wheat flour in the original recipe. This variation not only adds a hearty flavor but also increases fiber, making your pizza a bit healthier. Just remember that the texture may be slightly denser, but your toppings will still shine!
Gluten-Free Artisan Pizza Dough
Hosting friends with dietary restrictions? No problem! Creating a gluten-free artisan pizza dough is easier than you think. Use a gluten-free flour blend that includes xanthan gum for the best results. While adjusting the water slightly might be necessary (gluten-free flours absorb moisture differently), this pizza dough will still yield delicious results. You can find great blends at your local grocery store or online, ensuring everyone can enjoy a slice of happiness!
These variations not only expand your culinary repertoire but also let everyone join in on the joy of pizza night!
Cooking Notes for Artisan Pizza Dough
Importance of Resting Time
Resting your artisan pizza dough is non-negotiable! When you let the dough sit for 2-3 hours, it allows the gluten to relax and develop flavor, resulting in a beautifully chewy texture. You can even take it a step further by refrigerating the dough, which enhances the flavor through fermentation. This method produces a crust that’s not only tastier but also easier to shape. Check out this guide on dough fermentation for more insights.
Tips for Achieving the Perfect Crust
To craft the perfect crust, focus on three key areas: oven temperature, dough thickness, and toppings. Always preheat your oven to at least 475°F (or higher for a wood-fired feel) and place a pizza stone inside; this mimics the intense heat of a traditional pizza oven. When rolling out your artisan pizza dough, aim for a thickness of about ¼-inch. Remember, uneven thickness can lead to uneven cooking, but don’t stress over perfection! Lastly, avoid overloading on toppings; keeping it balanced is crucial for that crispy finish. Want to learn more about achieving a great crust? Check out this pizza-making resource.

Serving Suggestions for Artisan Pizza Dough
Classic Margherita Pizza
For a timeless favorite, keep it simple with a classic Margherita pizza. Spread a generous layer of tomato sauce made from fresh, ripe tomatoes, then sprinkle with shredded mozzarella cheese and arrange slices of fresh basil on top. Drizzle with a touch of olive oil before baking. This combination highlights the artisan pizza dough's chewy crust and enhances the flavors beautifully.
Creative Topping Ideas
Don't hesitate to get adventurous with toppings! Here are some ideas to spark your creativity:
- Turkey Bacon and Avocado: Add crispy turkey bacon and creamy avocado slices post-baking.
- Mediterranean Delight: Top with spinach, artichokes, feta cheese, and olives for a vibrant Mediterranean twist.
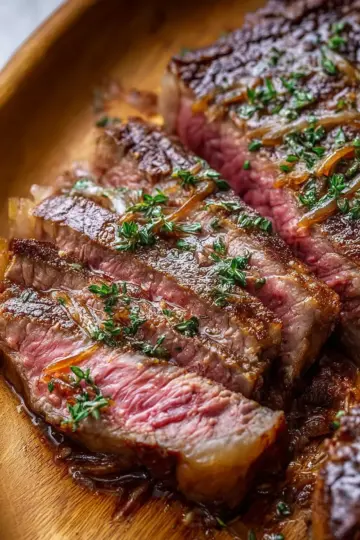
- BBQ Chicken: Use shredded chicken ham, BBQ sauce, red onions, and cilantro for a tangy, smoky flavor.
Remember, the world of pizza is vast—explore different cheeses, vegetables, and sauces to customize your artisan pizza dough experience! For more inspiration on pizza toppings and techniques, check out Serious Eats for expert tips.
Tips for Making Perfect Artisan Pizza Dough
Temperature and Humidity Factors
When crafting artisan pizza dough, remember that temperature and humidity play a vital role in the fermentation process. If your kitchen is warm (about 75°F to 80°F), your dough will rise quicker, while cooler temperatures may slow it down. Experiment with different conditions to see what works best for your environment. On humid days, you might need to adjust your flour slightly by adding a bit more to reach the right consistency. For more tips on perfecting bread and dough in various climates, check out this helpful guide.
Tools to Enhance Your Pizza-Making Experience
Investing in the right tools can elevate your artisan pizza dough game. Consider using:
- Digital Scale: Accurate measurements lead to better results.
- Pizza Stone or Steel: This helps achieve that desired crispy crust.
- Bench Scraper: Perfect for dividing dough without tearing.
With these items, you’ll find making pizza not just simple, but a fun and rewarding kitchen adventure! Grab your tools and get ready to impress your friends and family with homemade pizza goodness!
Time details for Artisan Pizza Dough
Preparation time
The prep time for this artisan pizza dough is just 20 minutes. You'll be surprised how quickly you can whip up a fresh batch with minimal effort, allowing you to focus on the fun part—toppings!
Cooking time
Your pizza will only need 10 minutes in the oven once you've added your favorite toppings. That's not long at all for a delicious homemade meal that tastes like something from a gourmet pizzeria.
Resting time
The secret to a perfect crust lies in the resting time. Let your dough rest for 2 hours at room temperature, allowing its flavors to develop and the yeast to work its magic. If you're planning ahead, consider refrigerating it for up to three days for even better results!
For additional tips on dough preparation, check out King Arthur Baking. Happy baking!
Nutritional Information for Artisan Pizza Dough
Calories per Serving
Each serving of artisan pizza dough contains approximately 218 calories, making it a moderate-base choice for a delicious pizza night that won't overdo it on the calorie front.
Overview of Macronutrients
This artisan pizza dough recipe is a well-rounded option, providing:
- Carbohydrates: 44g
- Protein: 6g
- Fat: 2g
With this balance, you can fuel your evening with tasty toppings without sacrificing nutritional value. Top it with fresh veggies or lean proteins to enhance its benefits!
Potential Allergens
Just a heads up—this recipe contains common allergens, including:
- Gluten: Found in all-purpose or whole wheat flour
- Yeast: Essential for rising
If you’re cooking for someone with allergies or dietary restrictions, consider using gluten-free flour and an alternative leavening agent.
For more insights on nutritional values, check out sources like the USDA's FoodData Central or the American Heart Association for balanced meal ideas!
FAQs about Artisan Pizza Dough
Can I freeze artisan pizza dough?
Absolutely! Freezing artisan pizza dough is a great way to have it on hand for last-minute pizza nights. After the dough has risen, divide it into portions, wrap each tightly in plastic wrap, and place them in an airtight container or freezer bag. It can be frozen for up to three months. When you're ready to use it, simply thaw it in the refrigerator overnight before letting it rest at room temperature for about 30 minutes.
How can I tell when the dough is ready?
The best indication that your artisan pizza dough is ready is its texture. When fully risen, it should be bubbly and have roughly doubled in size. You can also perform the "poke test": gently poke the dough with your finger; if the indentation springs back slowly, it’s perfect for shaping.
What are common mistakes to avoid?
Here are a few pitfalls to steer clear of:
- Overworking the dough: This can make it tough. Mix until just combined.
- Not letting it rise enough: Give it ample time to become airy and light.
- Skipping the preheating: Always preheat your oven and pizza stone for a crispy crust.
- Too many toppings: It’s tempting, but stick to a million-dollar combo for the best results!
Being mindful of these tips can elevate your pizza-making game. For more insights, check out this guide on dough temperature for the perfect pizza!
Conclusion on Artisan Pizza Dough
Embrace Homemade Pizza Nights
Homemade pizza nights with artisan pizza dough are more than just meals; they're experiences. Not only do you get to enjoy delicious, fresh pizza right out of the oven, but you also get the joy of customizing it just the way you like. Experiment with toppings, sauces, and cheeses to find your perfect combination.
So gather your friends or family, roll up your sleeves, and turn a simple evening into a fun-filled culinary adventure. Remember, each pizza tells a story—make yours unique!
Artisan Pizza Dough
Equipment
- large bowl
- plastic wrap
- Oven
- Pizza stone
- parchment paper
- Knife or spatula
- Rolling Pin
- Pizza Peel
Ingredients
- 3 and ⅔ cup flour all purpose or whole wheat
- 1 and ½ cup water at room temperature
- 2 teaspoon fine sea salt
- 2 teaspoon instant yeast
Instructions
- Stir together the flour, salt and yeast in a large bowl. Mix in the water and use a rubber spatula or wooden spoon to work the dough until fully combined. Shape loosely into a ball.
- Cover the dough with plastic wrap or a tight lid and allow to rise at room temperature for 2-3 hours until bubbly and doubled in size.
- Optional: After rising, place covered in the refrigerator for up to 3 days.
- Preheat the oven to 475 °F. Place a pizza stone on the centre rack.
- Prepare 4 sheets of parchment paper. Rip into 12 inch/30 cm long sheet and lightly flour.
- Use a knife or spatula to divide the dough into 4 (or 8 for individual pizzas). Flour your hands and scoop ¼ of the dough out of the bowl, lightly shape into a round ball and place in the centre of the prepared parchment.
- Flour a rolling pin and starting from the centre of the dough, roll out, rotating the parchment after each roll in order to shape it into a circle.
- Top with ¼ cup of sauce, 1-2 cups of desired toppings and 1 and ½ cups of cheese.
- Slide the assembled pizza onto a pizza peel (still on the parchment) or the back of a large baking sheet. Carefully transfer onto the heated pizza stone.
- Bake for 9-11 minutes until the crust is golden and the cheese is lightly brown and bubbly.
- Transfer the cooked pizza off the baking stone and back onto the peel/baking sheet. Place on a cooling rack for a couple of minutes.
- Peel the parchment paper from the bottom, slice and serve.


Leave a Reply