
Introduction to Peruvian Chicken
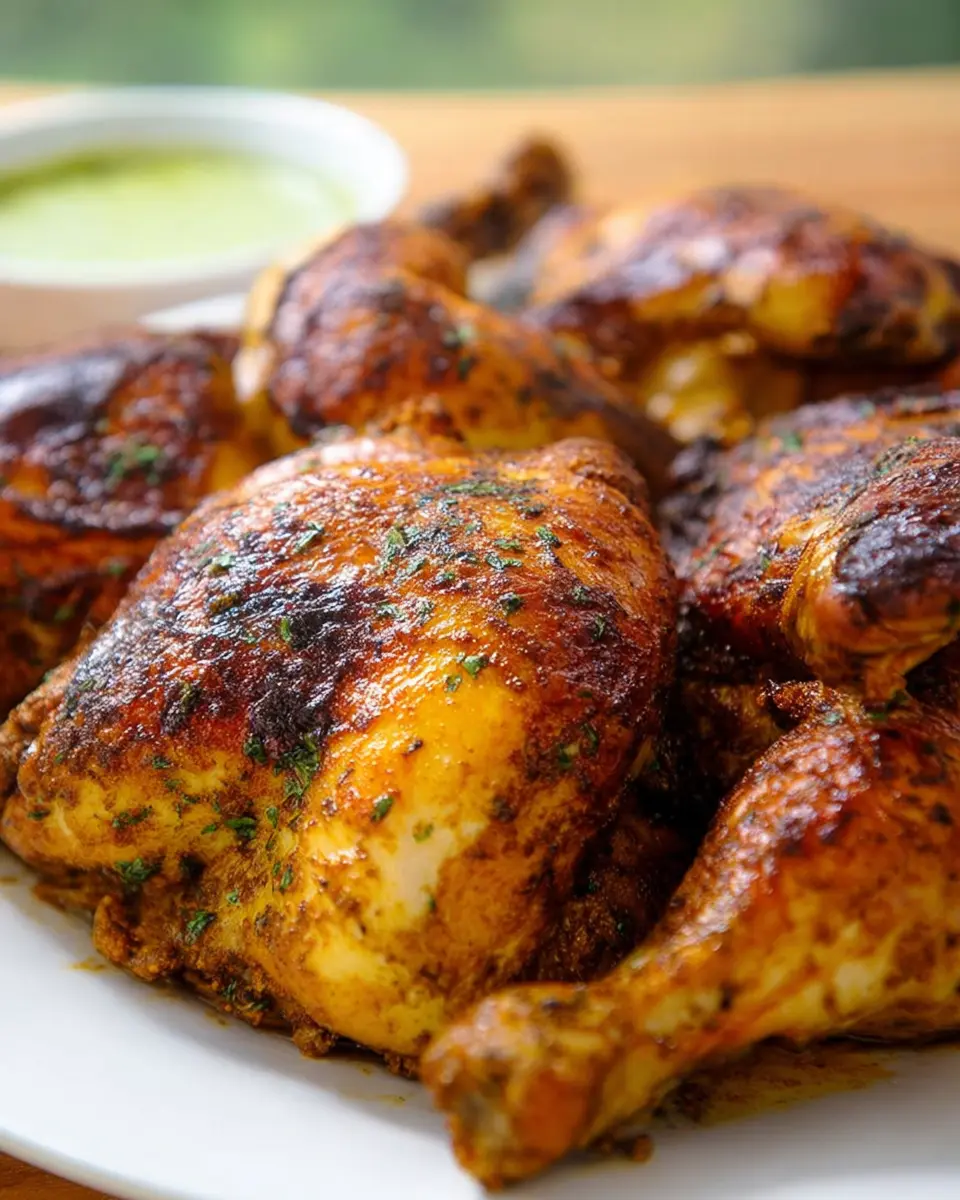
When it comes to bold and zesty flavors, Peruvian Chicken stands out as a culinary gem. This dish, also known as "Pollo a la Brasa," is a beloved staple in Peruvian cuisine and has gained popularity worldwide for good reason. What really makes it unique is the marinade, which features aji amarillo, a vibrant yellow chili that adds a deliciously spicy kick, combined with aromatic cumin and oregano. The result is a tender, juicy chicken with a flavorful crust that’s simply irresistible.
What makes Peruvian chicken so special?
The secret to truly unforgettable Peruvian Chicken lies not just in the ingredients, but also in the cooking technique. Spatchcocking, or removing the backbone of the chicken so it cooks flat, ensures even cooking and crispy skin. Did you know that this method dates back centuries and is widely used in various cultures for the same reasons? According to culinary experts, this technique results in faster cooking and juicier meat.
Additionally, the versatility of Peruvian Chicken makes it perfect for any occasion—whether you're throwing a weekend barbecue or preparing a cozy family dinner. So, grab your apron and get ready to impress your taste buds with this incredible dish! For more about authentic Peruvian flavors, check out the Peruvian Culinary Institute.
Ingredients for Peruvian Chicken
Creating a delicious Peruvian Chicken dish starts with gathering the right ingredients. Here's what you’ll need:
Main Ingredients
- Whole Chicken: A 3.5 lb whole chicken, preferably spatchcocked, ensures even cooking and quicker preparation. If you're unsure how to spatchcock, check out this spatchcock tutorial.
- Avocado Oil or Olive Oil: Using 2 tablespoons adds richness to the marinade.
- Aji Amarillo Paste: This unique ingredient is key to authentic Peruvian flavor; you’ll need 2 tablespoons.
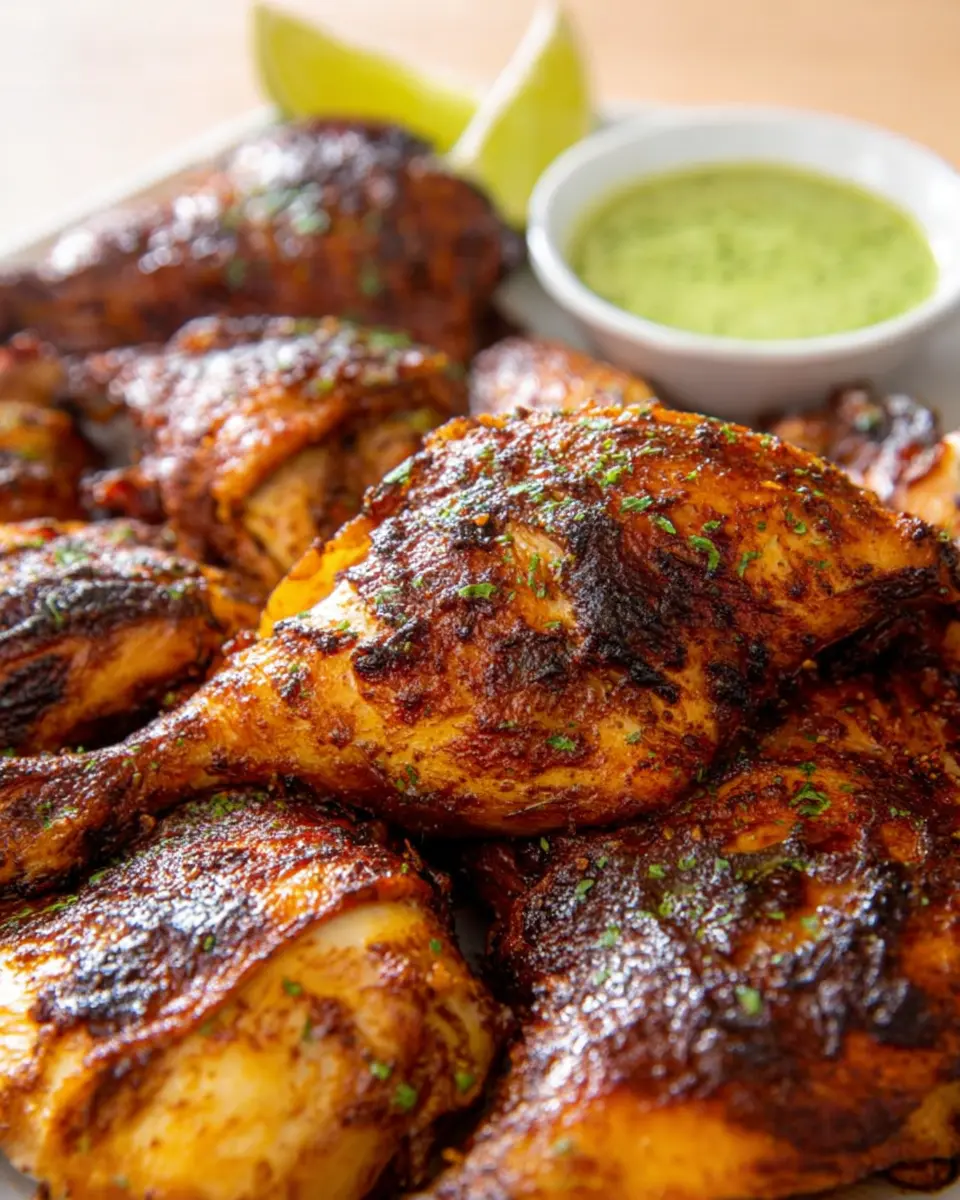
- Lime Juice: Fresh lime juice (1.5 tablespoons) brightens the dish.
- Garlic: Three minced or pressed garlic cloves provide aromatic depth.
- Kosher Salt: Use 2 teaspoons for enhancing all the flavors.
- Spices: 1 teaspoon each of ground cumin and dried oregano gives warmth and earthiness.
- Black Pepper: Freshly ground black pepper (1 teaspoon) rounds out the seasoning.
These ingredients come together to create a vibrant and juicy chicken that’s perfect for any gathering. Don’t forget to marinate it to let those flavors meld beautifully!
Step-by-step Preparation of Peruvian Chicken
Prepare the chicken for spatchcocking
First things first, spatchcocking will be your go-to method here. What is spatchcocking, you ask? It simply involves removing the chicken's backbone so it can lay flat. This method not only helps the chicken cook more evenly but also speeds up the roasting process, making it easier to carve! To spatchcock your chicken, place it breast-side down, use sharp kitchen scissors to cut along both sides of the backbone, and remove it completely. Flip the chicken over, press down on the breastbone until you hear a crack—voilà, you’re ready for the next step!
Mix and create the flavorful marinade
Now that you have your chicken prepped, it's time to whip up that irresistible Peruvian chicken marinade. In a small bowl, combine 2 tablespoons of avocado oil (or olive oil if you're out), 2 tablespoons of aji amarillo paste, 1.5 tablespoons of lime juice, 3 minced garlic cloves, 2 teaspoons of kosher salt, 1 teaspoon of ground cumin, 1 teaspoon of dried oregano, and 1 teaspoon of black pepper. Mix everything well until it forms a homogeneous paste. This marinade is packed with flavors that will seep into the chicken, enhancing every bite.
Marinade the chicken for optimum flavor
Once your marinade is ready, it’s time to get your chicken coated. Place the spatchcocked chicken on a sheet pan and pat it dry with paper towels—this helps the marinade adhere better. Rub the marinade generously all over the chicken, making sure to cover all the nooks and crannies. You might be tempted to dive right into roasting it, but hold on! Let the chicken sit at room temperature for at least one hour. If you have more time, marinating it in the fridge for up to 24 hours allows the flavors to develop beautifully. Remember, safety first—never leave meat out of the fridge for more than 2 hours.
Preheat the oven and prepare for roasting
About 15 minutes before you’re ready to roast, preheat your oven to 425°F. This high temperature will give your Peruvian chicken that crispy, golden skin we all adore. while your oven is heating, you can prepare a roasting pan lined with a rack. This will not only catch any drippings but also ensure even cooking.
Baste and roast the chicken to perfection
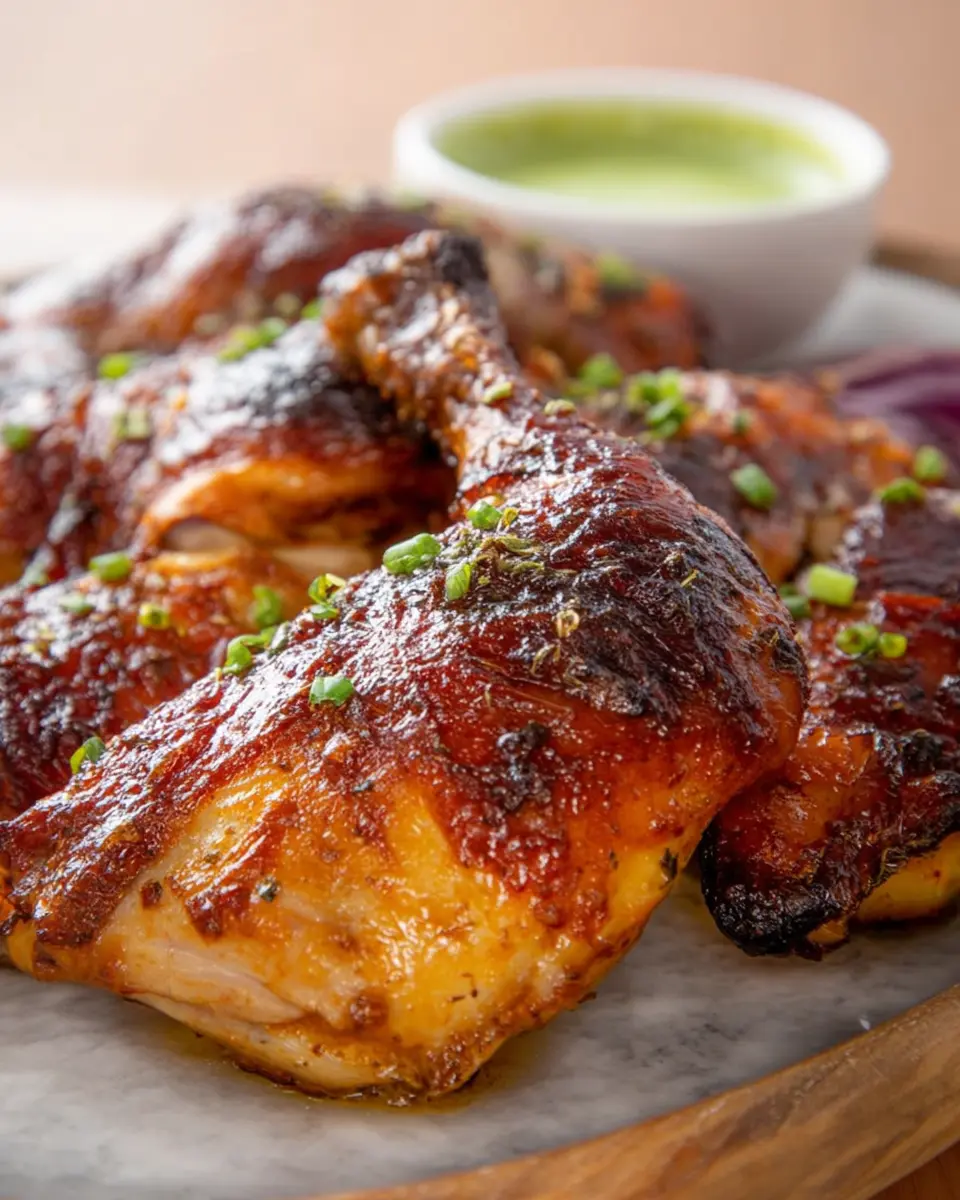
Finally, it’s roasting time! Place the chicken on the rack, breast side up, and pop it into the oven. Roast for about 40–45 minutes, but don’t forget to baste it in its own juices after 30 minutes. This not only ensures the chicken stays moist but adds even more depth of flavor. Use a meat thermometer to check the thickest part of the breast—it should register at least 160°F when it’s done. Allow the chicken to rest for 5-10 minutes to let those juices redistribute before carving. Enjoy your incredibly flavorful Peruvian chicken, and get ready to impress your friends and family!
For more insights on cooking techniques, check out this guide on spatchcocking. Happy cooking!
Variations on Peruvian Chicken
Spicy Peruvian Chicken with Extra Aji Amarillo
If you're a fan of heat, consider boosting your Peruvian chicken with extra aji amarillo paste or a sprinkle of cayenne pepper. This spicy twist brings vibrant flavors and a satisfying kick that’ll excite your palate. You can also serve it with a side of aji verde for an extra layer of spice and depth. The combination is truly an explosion of flavor!
Herb-Infused Versions with Fresh Herbs
For a fresh and aromatic take on your Peruvian chicken, try incorporating a mix of fresh herbs like cilantro and parsley into your marinade. This herb-infused variation adds a vibrant taste and elevates the dish to a whole new level. Plus, using fresh ingredients can make all the difference. Experiment with other herbs, too—rosemary or thyme could create a unique blend that complements the aji amarillo beautifully.
For more ideas and cooking tips, check out Serious Eats and Bon Appétit.
Cooking Tips and Notes for Peruvian Chicken
When preparing your Peruvian Chicken, the marinade is your secret weapon! Letting the chicken marinate for at least one hour enhances its flavor, but feel free to marinate it overnight in the fridge for an intensified taste. A little tip: use a meat thermometer for perfect doneness; the breast should reach 160°F.
Also, consider using pomegranate juice mixed with the marinade for an extra depth of flavor. For a crispy skin, you can crank the oven to 450°F during the last few minutes of roasting. Serve it with a fresh, zesty side salad for a well-rounded meal. Happy cooking!
For more insights on marinating techniques, check out The Kitchn's Guide to Marinating Meat.
Serving Suggestions for Peruvian Chicken
When it comes to enjoying your delicious Peruvian Chicken, you'll want to make the most out of each bite. Here are some tasty ways to serve it:
-
Accompany with Sides: Pair your chicken with traditional sides like aji verde, a zesty green sauce, or roasted potatoes for a comforting meal. Imagine that smoky flavor complementing crispy, seasoned potatoes!
-
Fresh Salads: A simple arugula or mixed green salad with a citrus vinaigrette adds a refreshing contrast to the rich flavors of the chicken.
-
Grain Bowls: Break off pieces of the succulent chicken to toss over a bed of quinoa or rice, topped with avocado and your favorite veggies.
-
Wrap It Up: For a fun twist, use the leftover chicken in tacos or wraps with a drizzle of salsa criolla, bringing a burst of flavor and a touch of cooling.
For more ideas, check out this article on versatile chicken recipes to inspire your next meal!
Time Breakdown for Peruvian Chicken
Preparation Time
Getting started with your Peruvian Chicken is easy! The prep time is just 10 minutes, allowing you to whip up the marinade and get that chicken ready for deliciousness in no time.
Cooking Time
Once your chicken is marinated and the oven is preheated, you can look forward to a cooking time of 40-45 minutes. This gives you just enough time to tidy up or prep your sides!
Total Time
From start to finish, including marinating, your Peruvian Chicken will take about 2 hours. Don’t worry; most of that time is hands-off, so you can sit back and enjoy the aromas wafting through your kitchen!
Feel free to check out resources like the USDA on safe chicken cooking to ensure your chicken is cooked properly. Happy cooking!
Nutritional Facts for Peruvian Chicken
When diving into the delicious world of Peruvian Chicken, understanding its nutritional profile can enhance your cooking experience and help you maintain a balanced diet.
Calories
A typical serving of Peruvian Chicken contains approximately 400 calories, making it a satisfying option for a meal without going overboard.
Protein
Packed with about 30 grams of protein per serving, this dish is an excellent source of lean protein that supports muscle growth and repair.
Sodium
Keep an eye on sodium levels—this recipe has around 800 mg of sodium per serving. Adjust the salt to fit your dietary needs for the perfect taste balance.
For more insights on the nutritional benefits of chicken, consider visiting reputable sources like the USDA or nutrition-focused blogs that offer further breakdowns. Enjoy your cooking adventure!
FAQs about Peruvian Chicken
Can I use chicken parts instead of a whole chicken?
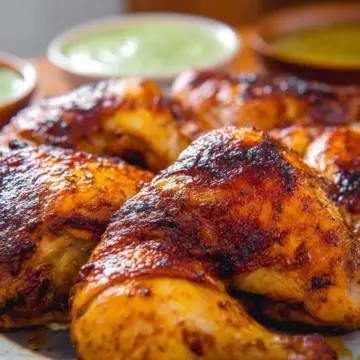
Absolutely! While a whole chicken gives that magnificent presentation, using chicken parts like thighs or drumsticks can make the cooking process quicker and even more convenient. Just adjust your marinating time, as smaller pieces absorb flavors more readily.
What should I serve with Peruvian chicken?
Peruvian chicken is incredibly versatile! Some favorite sides include:
- Cilantro lime rice: The freshness complements the chicken beautifully.
- Roasted vegetables: Carrots, bell peppers, or zucchini add a nice crunch.
- Salad: A simple green salad with lime vinaigrette balances the meal perfectly.
For authentic flair, consider serving with Peruvian corn as well!
How do I store leftovers effectively?
To keep your Peruvian chicken fresh, allow it to cool completely before transferring it to an airtight container. Store it in the fridge for up to 4 days. If you want to save some for later, consider freezing it! Just wrap it well and store for up to three months. Reheating in the oven helps restore that crispy skin.
For more tips on marinating chicken, check out this article on the benefits of marinating. Prepare to relish those leftovers!
Conclusion on Peruvian Chicken
This delectable Peruvian Chicken recipe is more than just dinner; it's a celebration of flavor that brings a taste of Peru to your table. With simple ingredients and an easy preparation process, you can impress your friends and family. Don't forget to share your experience and any tips you discover along the way! For more tips on enhancing your chicken dishes, check out culinary resources like America's Test Kitchen or Serious Eats. Enjoy!
Peruvian Chicken
Equipment
- Oven
- Sheet pan
- mixing bowl
- Meat thermometer
Ingredients
Chicken
- 3.5 lb whole chicken, spatchcock recommended
- 2 tablespoon avocado oil or olive oil
- 2 tablespoon aji amarillo paste
- 1.5 tablespoon lime juice
- 3 large garlic cloves, pressed or minced
- 2 teaspoon kosher salt
- 1 teaspoon ground cumin
- 1 teaspoon dried oregano
- 1 teaspoon freshly ground black pepper
Instructions
Preparation
- While it's not required, I highly recommend you spatchcock the chicken. All this means is you cut the backbone out so it lays flat on the roasting pan, so that it cooks more evenly, more quickly, and is much easier to carve.
- In a small bowl, mix together the avocado oil, aji amarillo paste, lime juice, garlic, salt, cumin, oregano, and black pepper.
- Place the chicken on a sheet pan and pat the exterior dry with a paper towel. Then rub the marinade all over the meat. Let sit at room temperature for one hour. Alternatively, you can marinate this up to 24 hours in advance in the fridge. Note: never leave meat out of the fridge for more than 2 hours.
- 15 minutes before cooking, preheat the oven to 425°F.
- Roast the chicken for 40-45 minutes, basting it in its own juices after 30 minutes, and again at 40 minutes. When the chicken is done, the breast should register at 160°F when measured with a thermometer.
- Let the bird rest for 5-10 minutes after roasting, so the juices don't run out while carving. Enjoy!

Leave a Reply