
Introduction to Cheeseburger Sliders
Discovering the Joys of Homemade Cheeseburger Sliders
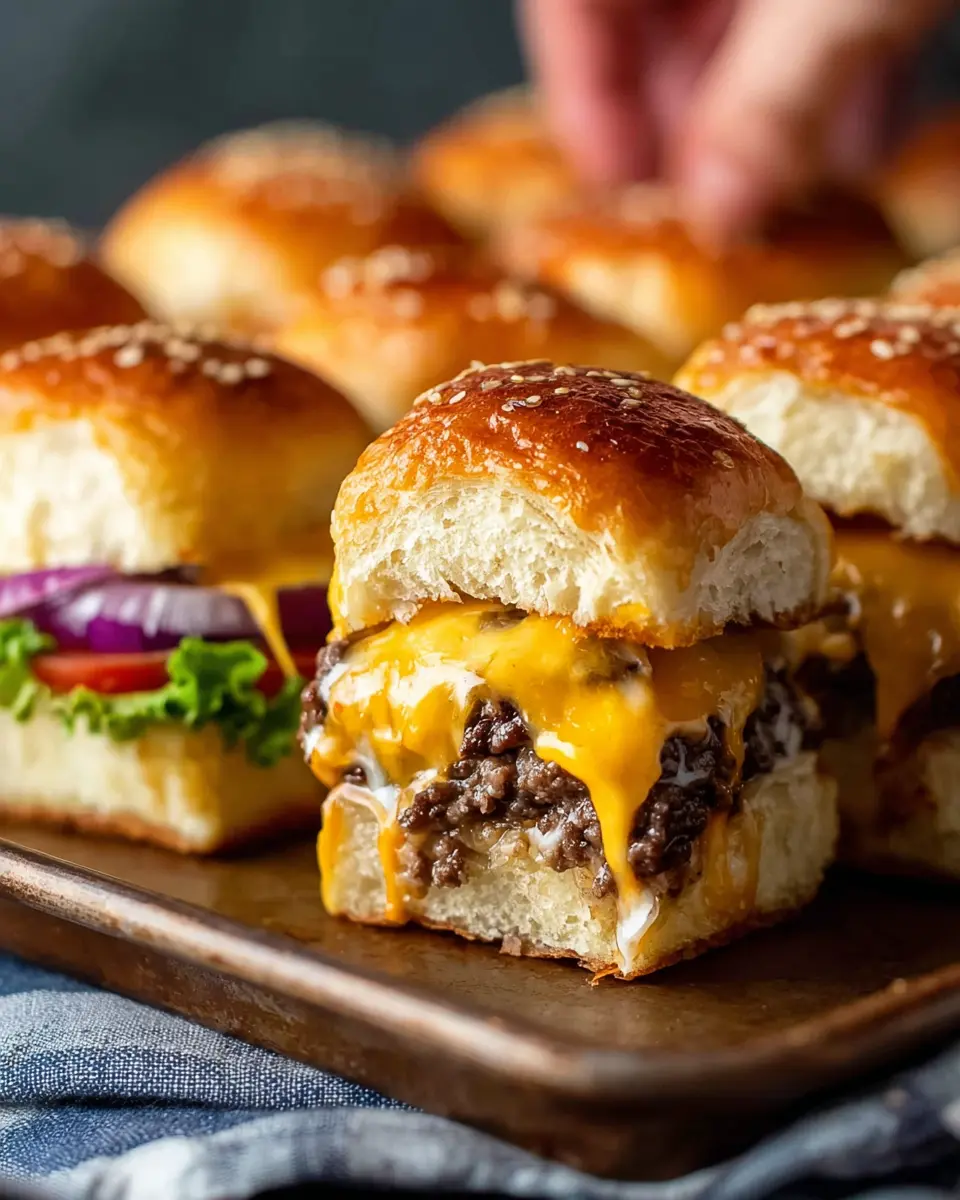
If you’ve ever craved the satisfying crunch of a slider packed with flavor, you’re in for a treat! Cheeseburger sliders are not just miniature burgers; they’re a fun, shareable experience perfect for game day, parties, or a cozy night in. With their appealing size and explosive flavors, these little joys can easily steal the show at any gathering.
Making sliders at home offers an opportunity to customize them to your taste. Want to add some heat? Toss in jalapeños or a spicy mustard. Prefer a milder option? Try a sweeter glaze with brown sugar and Dijon mustard. The beauty of making your own cheeseburger sliders lies in the freedom to experiment with toppings, sauces, and even the type of cheese you use (hello, melted cheddar)!
Plus, whipping up a batch of these delightful bites is surprisingly simple. In just about 50 minutes—from prep to table—you can serve a mouthwatering dish that everyone will enjoy. Trust me, your friends will thank you (and so will your taste buds)! For the full details on how to create these sliders, check out the recipe section below and get ready to elevate your next snack session!
Ingredients for Cheeseburger Sliders
Creating the ultimate cheeseburger sliders starts with a simple but flavorful ingredients list. These bite-sized delights are perfect for game night, gatherings, or a casual dinner. Here's what you'll need to make them irresistible:
Essential Ingredients List
- 2 lbs lean ground beef (I recommend 85% for that juicy flavor)
- 2 teaspoon garlic powder (because who doesn’t love garlic?)
- 1 teaspoon kosher salt
- 2 teaspoon ground black pepper
- 1 tablespoon olive oil (for sautéing)
- ½ white onion, diced (the aroma while cooking will have your friends flocking to the kitchen)
- 12 slider-sized Hawaiian rolls (these provide that perfect touch of sweetness)
- 12 (¾ oz.) cheese snack bars (any flavor you fancy; I love using Borden)
For an extra layer of deliciousness, consider the optional glaze:
- ¼ cup unsalted butter, melted
- ½ teaspoon kosher salt
- 2 tablespoon brown sugar
- 3 teaspoon Worcestershire sauce
- 2 tablespoon Dijon mustard
- ½ tablespoon sesame seeds (plus more for garnish)
With this stellar lineup, you’re well on your way to making crowd-pleasing cheeseburger sliders. Ready to get started?
Preparing Cheeseburger Sliders
Creating delicious cheeseburger sliders can be a fun and rewarding kitchen experience. With a few simple steps, you can whip up a crowd-pleasing treat that satisfies everyone's cravings. Let's dive into the preparation process for these delightful baked sliders!
Gather Your Ingredients
Before you start cooking, ensure you have all your ingredients on hand. This makes for a smoother and more enjoyable cooking experience. Here’s what you'll need:
-
For the Cheeseburgers:
-
2 lbs of lean ground beef (I recommend 85% for optimal juiciness)
-
2 teaspoon garlic powder
-
1 teaspoon kosher salt
-
2 teaspoon ground black pepper
-
1 tablespoon olive oil
-
½ white onion, diced
-
12 slider-sized Hawaiian rolls
-
12 (¾ oz.) cheese snack bars (any flavor you like)
-
For the Glaze (Optional):
-
¼ cup unsalted butter, melted
-
½ teaspoon kosher salt
-
2 tablespoon brown sugar
-
3 teaspoon Worcestershire sauce
-
2 tablespoon Dijon mustard
-
½ tablespoon sesame seeds (plus extra for garnish)
Having everything ready allows you to focus on making those cheeseburger sliders shine!
Prepare the Beef Mixture
In a large mixing bowl, combine the ground beef with the garlic powder, kosher salt, and black pepper. Mix it well to ensure the seasonings are evenly incorporated throughout the meat. Then, press this beef mixture into the bottom of your 9x13 baking dish to create a flat and even layer. This will serve as the base of your sliders.
Layer the Ingredients in the Baking Dish
Once your beef is in the dish, pop it into a preheated oven at 350°F for about 20 minutes. This initial cooking layer helps render some fat and creates a tasty foundation. After baking, make sure to drain any excess liquid, then set it aside for assembly.
Cook the Onions and Assemble
In the meantime, heat up the olive oil in a skillet over medium-high heat. Add the diced onions and sauté them until they become translucent and aromatic, which usually takes about 5-7 minutes. This step brings a lovely flavor to your cheeseburger sliders!
Afterward, slice your Hawaiian rolls in half lengthwise. Place the bottom halves in the same baking dish, and spread the cooked beef mixture on top. Next, add the sautéed onions, followed by the cheese bars. Finally, place the top halves of the rolls over the assembly.
Brush the Rolls with Glaze and Bake
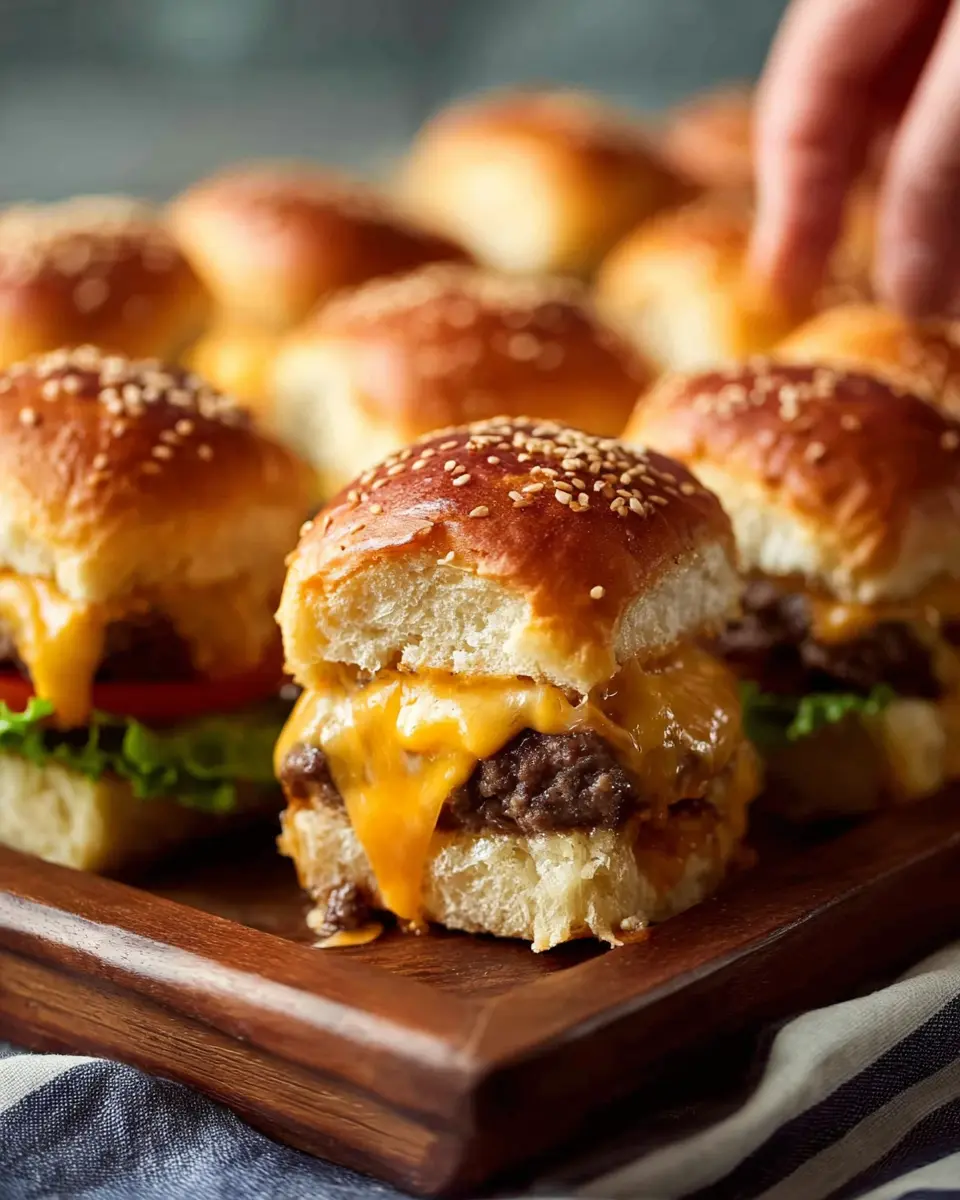
For that irresistible buttery finish, mix the melted butter with kosher salt, brown sugar, Worcestershire sauce, Dijon mustard, and sesame seeds in a bowl. Brush this luscious glaze generously over the tops of the rolls. Give it one last sprinkle of sesame seeds for some added texture. Bake for an additional 20 minutes until the rolls are golden brown and the cheese is gooey.
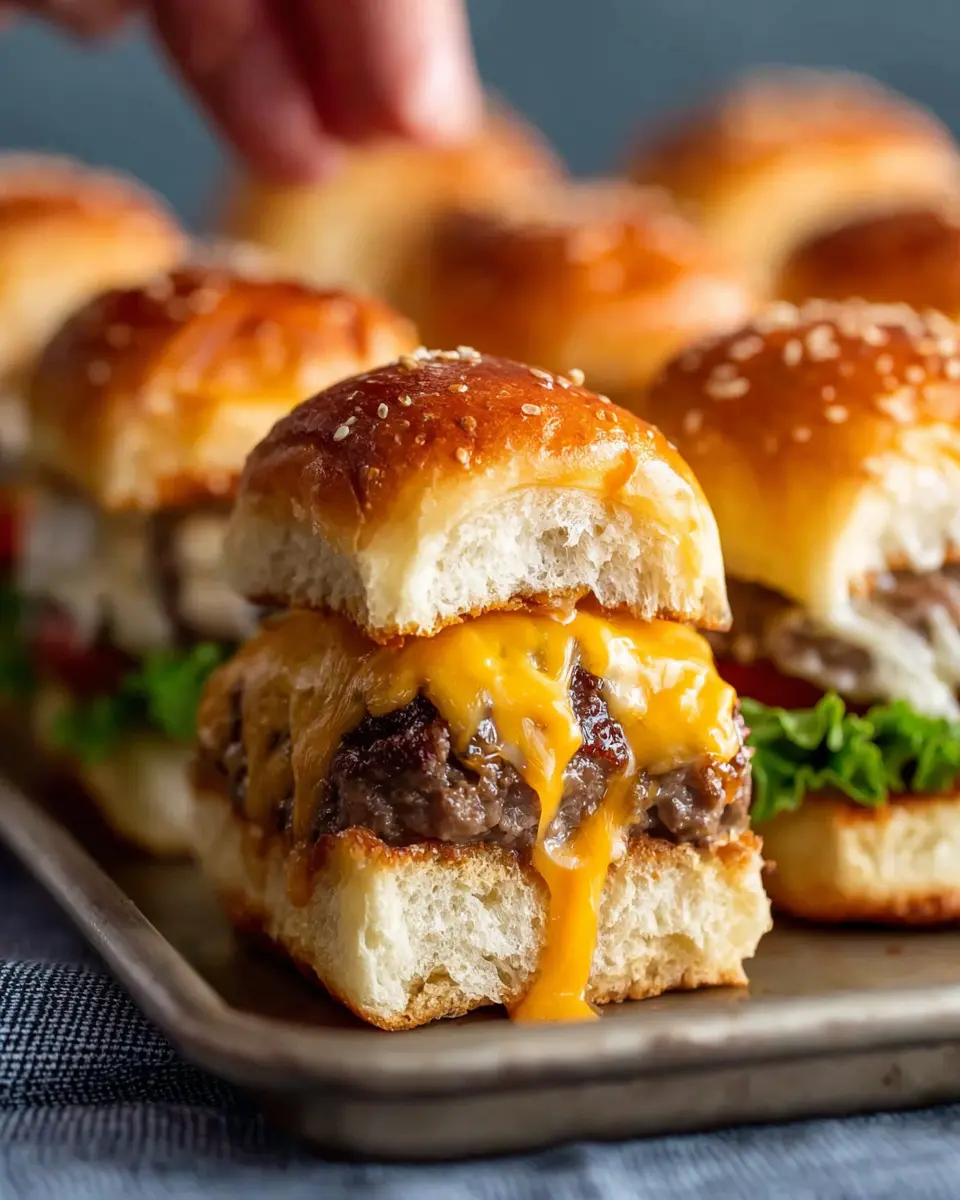
Now, slice them into individual sliders, and get ready to enjoy the crispy, cheesy, and savory goodness of your homemade cheeseburger sliders! These are perfect for game day, family gatherings, or simply a delicious meal any day of the week.
Variations on Cheeseburger Sliders
Sliders with Turkey Bacon and Cheese
Ready to elevate your cheeseburger sliders? Try adding crispy turkey bacon for a savory crunch! Simply layer cooked turkey bacon on top of your beef patties before adding the cheese. This not only adds an extra layer of flavor but also a delightful texture. Serve them at your next gathering, and watch them disappear!
Veggie Cheeseburger Sliders for a Twist
Looking for a meat-free option? These veggie cheeseburger sliders are perfect! Substitute the ground beef with a mixture of black beans, quinoa, and diced veggies seasoned to perfection. Top with your favorite cheese and bake until golden. This fun twist is not just tasty but also adds a healthy element that everyone will enjoy. Check out more veggie slider variations at EatingWell.
With these variations, you can make your baked sliders recipe as delicious and diverse as your guest list!
Cooking Tips and Notes for Cheeseburger Sliders
Tips for Perfectly Even Cooking
Creating delicious cheeseburger sliders is a breeze, but you can take them to the next level with a few simple tips:
- Use a uniform patty: Press the beef mixture into an even layer for consistent cooking. Aim for about ½ inch thick; this ensures all sliders cook at the same rate.
- Avoid overcrowding: If you need to adjust the number of sliders, don't cram them together. Each slider deserves its breathing room!
- Check doneness: Use a meat thermometer to check if your beef has reached 160°F for safety and optimal juiciness.
With these tips, your sliders are sure to impress! Need more guidance? Check out this resource for safe cooking practices.
Serving Suggestions for Cheeseburger Sliders
Pairing Sliders with Homemade Dips
When it comes to serving your delicious cheeseburger sliders, the right dips can elevate your dish from great to unforgettable. Consider these crowd-pleasers:
- Creamy Ranch Dip: With its tangy flavor, it perfectly complements the savory notes of the sliders.
- Zesty BBQ Sauce: A classic choice that adds a smoky touch to each bite.
- Spicy Mustard Aioli: Great for those who crave a little heat with their golden-brown sliders.
Pairing your cheeseburger sliders with one of these dips not only enhances the flavor but also adds an interactive element to your meal. Everyone loves a good dip, right? Plus, preparing these dips yourself can be a fun way to impress your guests! Want to explore more dipping ideas? Check out this great guide to homemade dips for some creative inspiration.
Time Breakdown for Cheeseburger Sliders
Preparation Time
Getting the ingredients prepped for your cheeseburger sliders is a snap! Expect to spend about 10 minutes gathering your ingredients and combining the beef with spices. Quick and easy!
Cooking Time
Once everything is prepped, baking your sliders will take about 40 minutes in the oven, giving you time to relax or set the table.
Total Time
In just 50 minutes, you can have these delicious sliders ready to serve. Perfect for game day or any casual get-together! So, why not whip up a batch and impress your friends?
Nutritional Facts for Cheeseburger Sliders
Calories per Slider
Each cheeseburger slider packs approximately 200 calories, making it a delicious yet manageable indulgence. Perfect for gatherings, these sliders allow you to enjoy flavor without straying too far from your nutritional goals.
Protein Content
With around 12 grams of protein per slider, this recipe satisfies your hunger while providing the essential nutrients your body craves. The lean ground beef offers a great source of protein, helping to fuel your day and keep you energized.
Sodium Levels
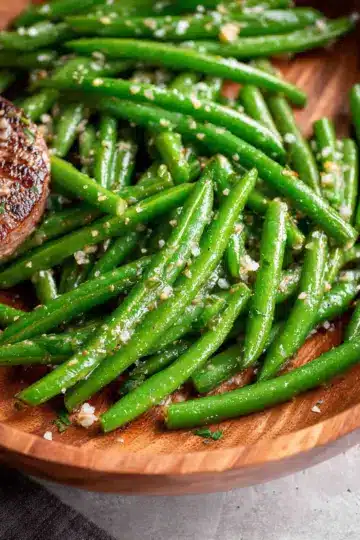
Keep an eye on sodium levels; each slider contains about 400 mg. While it’s a tasty treat for special occasions, consider pairing it with fresh veggies or a light salad to balance out the meal. By using lower-sodium options for ingredients like Worcestershire sauce or cheese, you can easily reduce the sodium content.
For more insights on nutrition, check out Healthline's guide to nutrition for tips on maintaining a balanced diet while enjoying your favorite foods.
FAQs about Cheeseburger Sliders
Can I use ground turkey instead of beef for sliders?
Absolutely! You can substitute ground turkey for beef when making your cheeseburger sliders. Just keep in mind that turkey may require a little extra seasoning since it’s leaner and has a milder flavor. A dash of smoked paprika or some garlic powder can enhance its taste deliciously.
What’s the best way to store leftover cheeseburger sliders?
To keep your cheeseburger sliders fresh, store them in an airtight container in the refrigerator. They should be good for up to three days. If you want to enjoy them later, freezing is an option too! Just wrap them tightly in plastic wrap or foil and store them in a freezer-safe bag.
Can I prepare the sliders ahead of time?
Yes! You can assemble the sliders up to a day in advance. Prepare the beef and layer everything in the baking dish, then cover and refrigerate until you’re ready to bake. This is a fantastic way to save time, especially for events like game days. Enjoy the ease of grabbing your sliders from the fridge and popping them into the oven!
Conclusion on Cheeseburger Sliders
In summary, these cheeseburger sliders are the ultimate crowd-pleaser for any gathering, from game day to casual get-togethers. Packed with flavor, they’re easy to prepare and sure to impress your friends. Treat yourself to this delightful recipe, and watch the compliments roll in! For more engaging recipes, check out The Cookie Rookie for your next kitchen adventure!

Cheeseburger Sliders (Baked Sliders Recipe)
Equipment
- 9x13 baking pan
Ingredients
For the Cheeseburgers
- 2 lbs lean ground beef I used 85%
- 2 teaspoon garlic powder
- 1 teaspoon kosher salt
- 2 teaspoon ground black pepper
- 1 tablespoon olive oil
- 0.5 white onion diced
- 12 slider-sized Hawaiian rolls (1 package)
- 12 (¾ oz.) cheese snack bars any flavor -- I used Borden
For the Glaze (Optional)
- 0.25 cup unsalted butter melted (½ stick)
- 0.5 teaspoon kosher salt
- 2 tablespoon brown sugar
- 3 teaspoon Worcestershire sauce
- 2 tablespoon Dijon mustard
- 0.5 tablespoon sesame seeds plus more for garnish
Instructions
Preparation Steps
- Preheat oven to 350°F.
- Combine the beef and spices in a bowl.
- Press the beef into the bottom of a 9x13-inch baking dish into a flat and even layer.
- Bake for 20 minutes. Drain the liquid and set aside.
- Slice the rolls in half lengthwise. Place the bottom half in a lined baking pan.
- Top the bottom half of the rolls with the cooked beef.
- In a large skillet set over medium-high heat, add the olive oil. Add in the diced onion and stir to coat. Cook until the onion is translucent and fragrant.
- Top the beef with the cooked onions, cheese, and top half of the bun.
- In a small bowl, combine the melted butter and all other ingredients for the butter topping.
- Brush the tops of the rolls liberally with melted butter mixture and sprinkle the sesame seeds on top.
- Bake for an additional 20 minutes, or until the bread is toasted and the cheese is melty.
- Slice into individual sliders and serve hot. Enjoy!


Leave a Reply